How to install Herringbone flooring in a herringbone pattern?
Herringbone floor panels, also known as the herringbone pattern, are an elegant solution that gives the interior a unique character. To obtain a perfect result, it is important to follow the assembly instructions carefully. In this article, we provide a detailed, step-by-step guide to installing Herringbone Panels with UniZip.
Surface preparation
- Purity and stability: The floor surface must be clean, dry and stable. Remove any varnish, paint or dirt.
- Smoothing: Use a putty knife to smooth the surface.
- Temperature: Keep the room temperature above 15°C.
- Door: Check that the door can open and close freely, leaving a minimum of 1 cm of clearance.
Installation
- Measurement and marking of the measure: Measure the room and determine the center of the width.
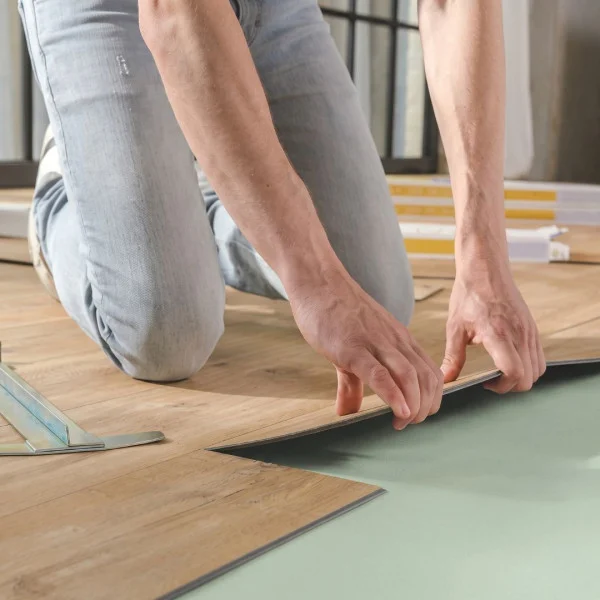
- Preparing the rows: Lay several complete rows (zigzag) across the width of the room, connecting the short side of each panel to the long side of the adjacent panel.
- Aesthetics: Place the planks so that the center of the row is in the center of the room.
- Waste minimization: You can move the row a few centimeters from the marked center to avoid cutting short sections of the planks on the sides.
Laying panels
- Starting from the left side: Start laying from the left side of the room.
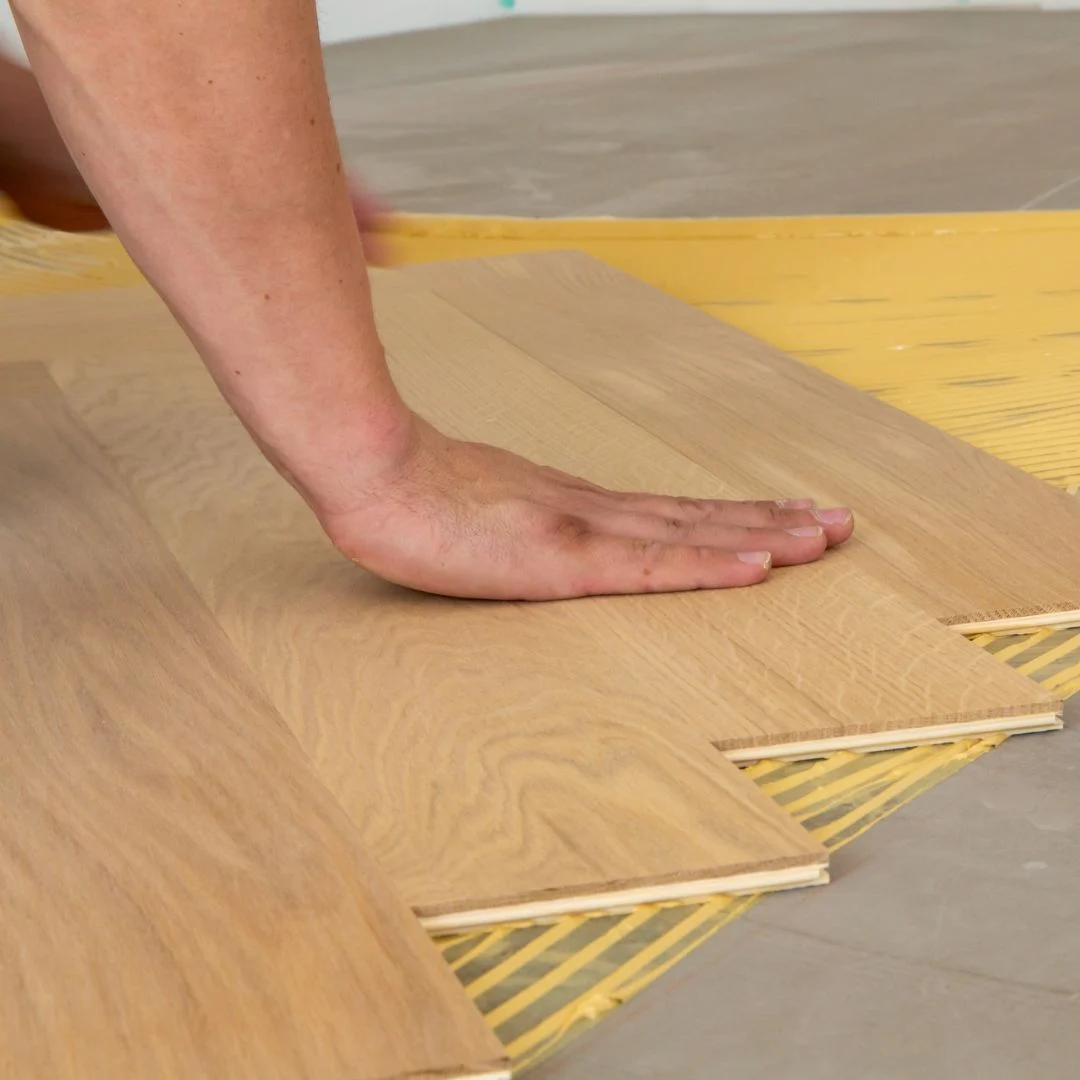
- Connecting panels: Place the long side of the panel on top of the long side of the panel in the previous row. With a sudden movement, snap the short side of the panel into the long side of the panel in the row above. You can use a rubber mallet and a tapping block.
- Call control: Always check each connection before continuing assembly.
- Continuation of assembly: Place successive rows towards the end of the room.
Trimming and finishing
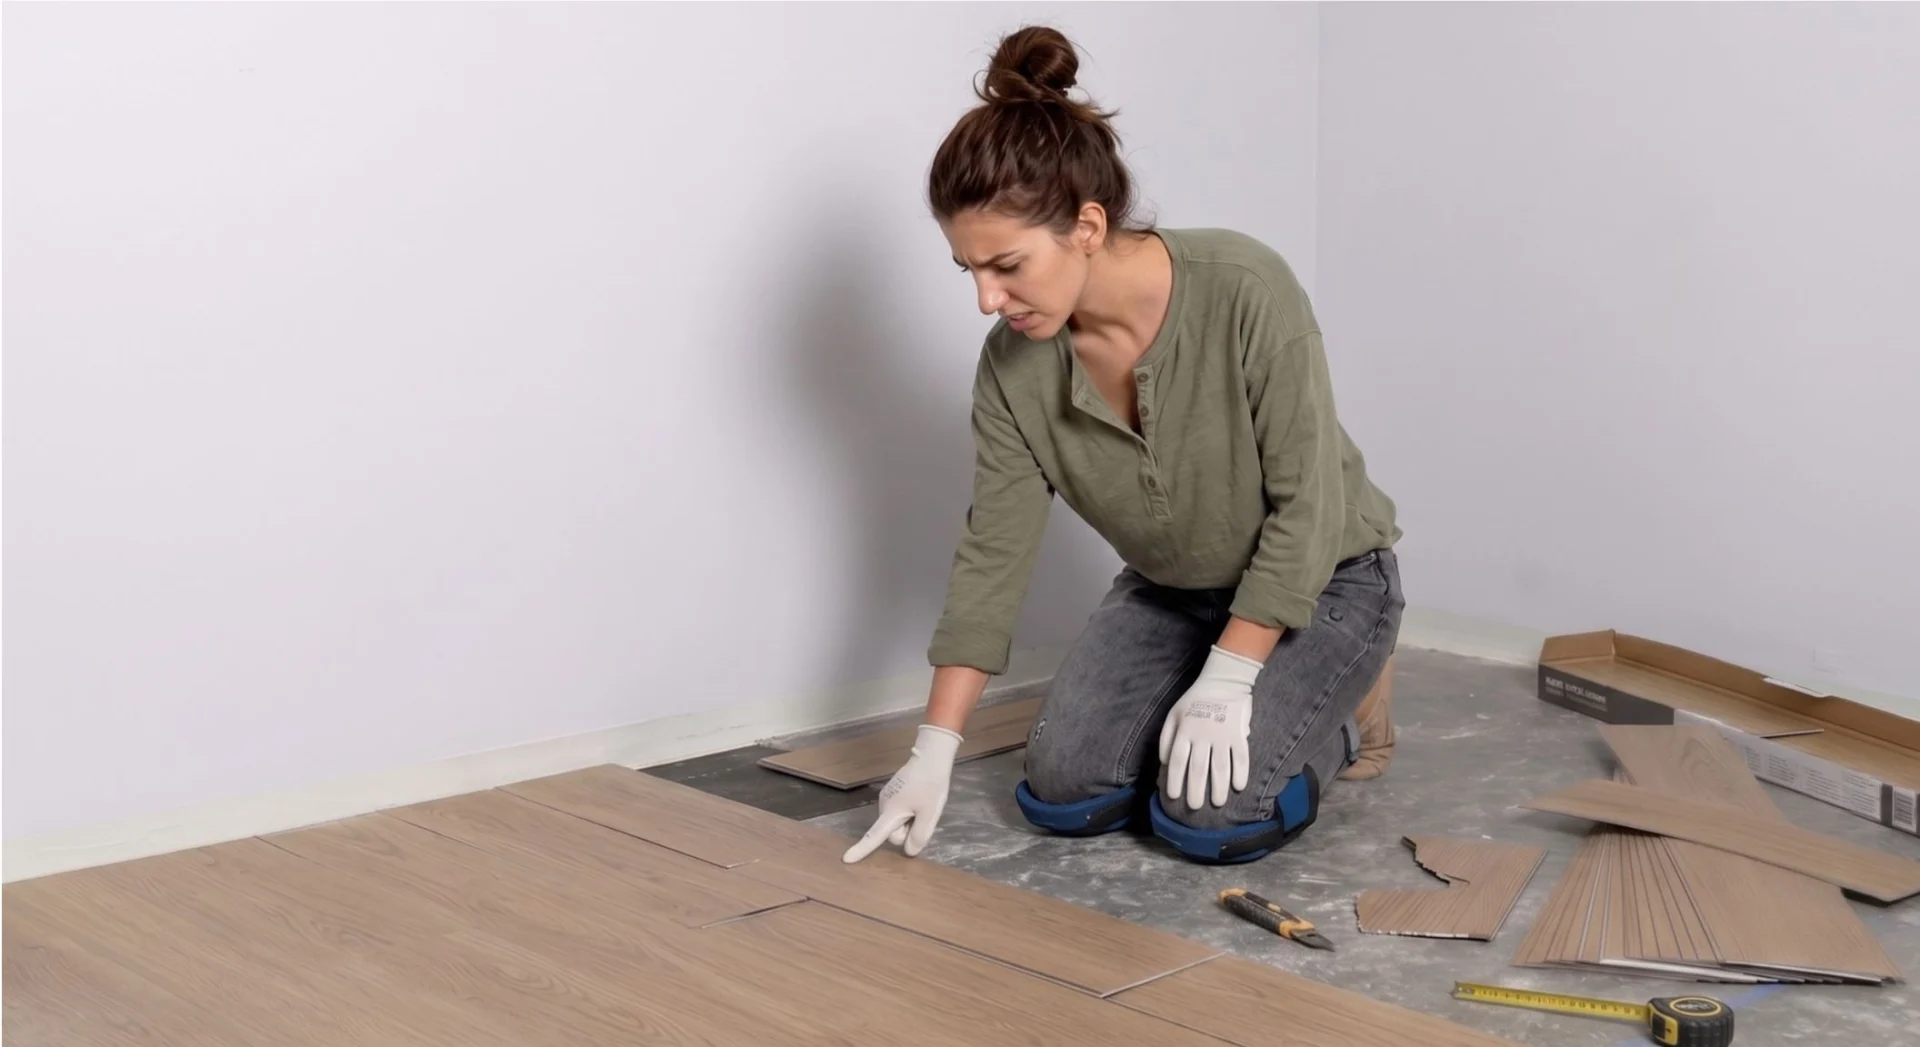
- Measuring and trimming: When the room cannot accommodate any more rows, measure and cut the remaining pieces on all four sides.
- Expansion joint: Leave an expansion gap on all sides of the room according to the product specifications, using spacers.
- Expansion profile: Depending on the properties of the product, it may be necessary to use an expansion joint profile.
To maintain the beauty of your new floor:
- Mats and doormats: Place dirt-absorbing mats in high-traffic areas.
- Felt tips: Attach the felt tips to the furniture legs.
- Chair mats: Use mats to protect the floor from wheeled chairs.
To keep your Herringbone floor looking like new:
- Sweeping: Sweep the floor regularly to remove loose dirt.
- Stain removal: Wipe up spills quickly.
- Cleaning: If sweeping alone is not enough, wipe the floor with distilled water and white vinegar (100 ml of white vinegar per 5 liters of warm water).
- Avoiding chemicals: Do not use waxes, polishes or scouring agents.
Summary
Installing herringbone panels in a herringbone pattern may seem complicated, but following the steps above will ensure a beautiful and long-lasting result. Thanks to proper preparation, careful installation and regular care, your floor will be a decoration of any interior.